Thursday, August 22, 2013

Motorcycle Remodeled! Trash to my son's treasure!

AFTER
BEFORE


This is a motorcycle I found on the side of the road. I wasn't sure what it at first because it was covered by a broken lamp shade. After toting it home and I started looking at what I had found, there was a lot of cracked plastic as you can see from the pictures. Unfortunately there was no way to salvage the front and back plastic pieces. In the process I discovered the base can come off of the motorcycle! This made removing the broken pieces much easier.Inside of the wheels was a couple wasps nests and there was also dirt caked on everywhere.


Really dirty, but so much potential!


Washed and starting to look better....
Hosed down and cleaned up!
 Removed broken plastic and the base to make cleaning and painting easier. Another problem I ran into was that the handles were really sticky no matter how I washed them, so I covered them with duct tape, not the ideal choice...but it works.


AFTER:  I started by spray painting the whole thing with a plastic adhering spray paint.

I then started painting the parts I wanted to be silver white as a base and then covered with silver. I painted the saddle bags and seat black. I used sharpie marker to paint the license plate and the speedometer. The last step is just to spray the whole thing with a clear coat to keep it from scratching easily.

I really like the way it turned out. The wheels are a little dirty, but that is because my son rides it around the house and I didn't see a point in repainting the wheels or I might have scuff marks on my floors.


My son loves this motorcycle and I'm so excited to have found this treasure that someone else was trashing.

Thursday, August 1, 2013

Rocking Chair Redone

Two of my sweet friends go for walks in the morning and they found this old rocking chair that was pretty much in pieces, it needed to be cleaned, and glued all back together.

We were going to stain it, but it wasn't looking the way we wanted. So I decided to paint it and paint a little details on it to match our babies room. Some of the paint got a little clumpy in spots and isn't as "perfect" as I would have liked, but it will work for our little person.

 BEFORE: Rocking chair found on the side of the road.


 AFTER: Painted with some off white paint I had left over from something else.


Before and After together. I'm happy with how it turned out and I'm excited for my next project.

Thursday, June 13, 2013

Fathers day craft fun!

Milk Carton Wallets


 My husband has some amazing students who made him a milk carton wallet and I thought it was a great idea for a fathers day craft. They hadn't painted it, but I thought I could make this into a craft for my son and his friends.

1. Milk carton (washed out...otherwise it smells and no one wants a smelly wallet.)

2. Cut the milk carton as seen below. 
(You will end up cutting off the bottom and the back of the carton.)

3. Fold the rounded sides in half, then in 1/4's, and then in 1/8's. Creating an accordion fold on both sides.

4. Spray painted the milk carton with plastic adhering spray paint.  (this way if you have a one year old painting it, it creates a good base in case it doesn't all get covered.)
 All three steps together.

 5. Painting time! We use acrylic paint. Kids shouldn't touch acrylic paint with their fingers, but it is the best kind of paint to use for this project. If you are worried about the acrylic paint, your kids can wear gloves.
 Painting in action. I hold the plate with the paint. Primary colors (red, blue and yellow) are best with little kids.

 6. Completed and wonderfully painted wallet!


7. Wallet all folded up. Fold the accordion sides in towards the inside of the wallet.  The long piece with the hole  goes through the milk carton spout and then place the cap to keep the flap in place.


Photo frame


I bought these frames from Hobby Lobby for 1.99 plus tax. I took the plastic piece out of the frame sleeve so if the kids painted the center it wouldn't matter. I then placed a photo and the plastic piece in the sleeve.

The best paint to use for this would be acrylic paint as well, but you could decorate it with other paints, or stickers.


Thursday, June 6, 2013

Learn how to make Peach Jam! You won't regret it!

Making Peach Jam

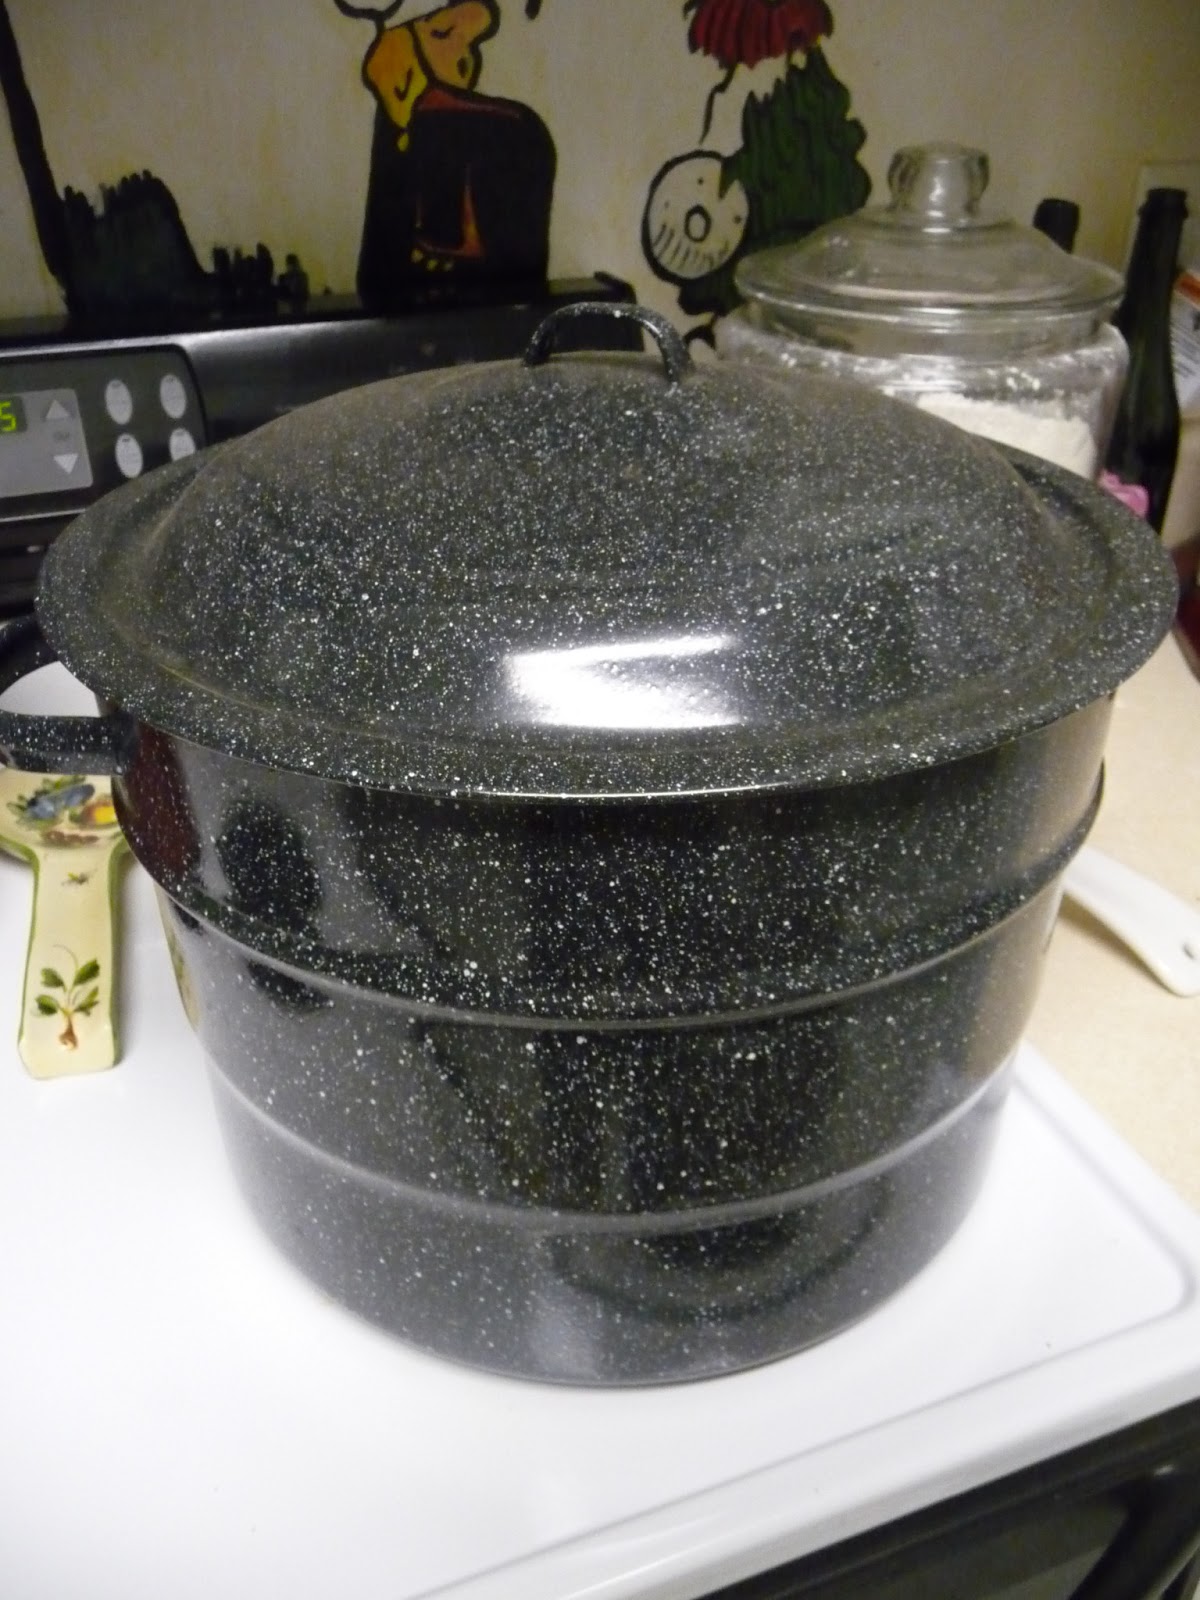
Supplies:  Canning Pot with Wire Rack, Large Pot, Funnel, Jar Lifter, Jars, Rings, Lids, Sugar, Pectin, Lemon Juice, Potato Masher (or Blender), Ladle


I started canning three years ago and I love making jams and pickling too. I have made blueberry, blackberry, grape, plum, pear, peach jam and pickled peppers, onions, cucumbers and okra. I am by no means an expert and sometimes things don't turn out perfectly, but that is all part of the experience! There are a lot of resources online for help and more details on how to can. This is just my experience and I hope it helps you along on your jamming experience!

To start with the amount of fruit you will need will depend on what kind of jam you are making. For this I will just talk about how to make peach jam, but each fruit is different, so keep that in mind if you are canning something else.

  
1. A plastic grocery bag full of peaches I had picked equaled about six cups of prepared peaches.

2. Before beginning to prepare the fruit, put the jars, lids and rims in the dishwasher on a normal wash and heated dry. (It is important to keep the jars hot and to sterilize them before pouring in the jam mixture.)
3. Clean the peaches and make sure they are clean of all stems and dirt. While you are cleaning the peaches put your large pot filled with water on the stove to boil.

 4.  Once water is boiling put peaches in boiling water for about two minutes. My peaches were not ripe at all (they were free, I'm not complaining!) so I had to cook them for a longer period of time.


5. After the peaches are done boiling use a slotted spoon and put the peaches in a large bowl of ice water.  Make sure it is large enough to fit all the peaches in the ice water. I didn't use a big enough bowl of ice water and some of the peaches were overcooked.


6. The skin of the peaches should peal off easily. If they do not I use a vegetable peeler to remove the skin. You then have to pit the peach and cut the peach into pieces.

7. Mash the peaches. This would be a fun time to have your kids help if you decide to use a potato masher to mash up the fruit. I find it is more efficient to use the blender to puree the fruit. There are different settings if you want to have pieces of fruit in your jam.


8. Should be six cups of pureed peaches.


9. Fill pot with water and begin boiling water in the canning pot.


10. One box of regular pectin (and a little extra to be sure the jam will congeal).

11. Add 1/4 cup of sugar to the pectin and mix together.
12. Add 1/4 cup of lemon juice to the peach puree to prevent browning of the peaches.
13. Add the Peach Puree to the pot and add the sugar and pectin mixture.

14. Bring to a boil over medium high heat stirring very often to prevent burning. It will take about 5-10 minutes to get to a full boil. (a full boil cannot be stirred away)

You will need to have 6 3/4 cups of sugar prepared for this next step.


15. Add 6 3/4 cups of sugar to the boiling peach mixture.

16. Bring back to a full boil and boil for 1 minute.
17. Take the hot jars out of the dishwasher and place funnel in the jar and ladle the hot jam into the jars.
18. Ladle the jam mixture into the jars leaving about 1/4 of an inch from the top of the jar. Using a wet rag wipe off any of the excess jam.
19. Place the lid on top of the jar and then secure with the band tightly.
20. Continue until all jam liquid is gone and jars are filled.
21. Open the canning pot and carefully and place the jars onto the wire rack. Be careful that they are not touching each other or the sides of the pot.
22. Wearing oven mitts slowly lower wire rack into the boiling water for 8 minutes or so. Be sure the water is completely covering the jars. (How long the jars stay in the pot depends upon how larger the jars are....smaller jars require less time. Refer to the Pectin packet instructions for more information.)
23. Cover the pot and allow to boil.
24. Lift the wire rack with oven mitts and carefully remove the jars using the jar lifting tongues. I place the hot jars on a dish towel.
25. Be sure to leave space between the jars and do not touch them until the following day. You will hear the wonderful sounds of pops, which are the jars sealing.

Store the jars in a dark cabinet and when opened they need to be refrigerated.

Canning is a wonderful experience and I love to give jams and jelly's as gifts. I hope to someday have a daughter to make peach and other fruit jams with. I hope this encourages you to teach your children to can fruits and such.

There really is nothing like a fresh homemade piece of bread with some homemade jam.