
Making Peach Jam

 Supplies: Canning Pot with Wire Rack, Large Pot, Funnel, Jar Lifter, Jars, Rings, Lids, Sugar, Pectin, Lemon Juice, Potato Masher (or Blender), Ladle
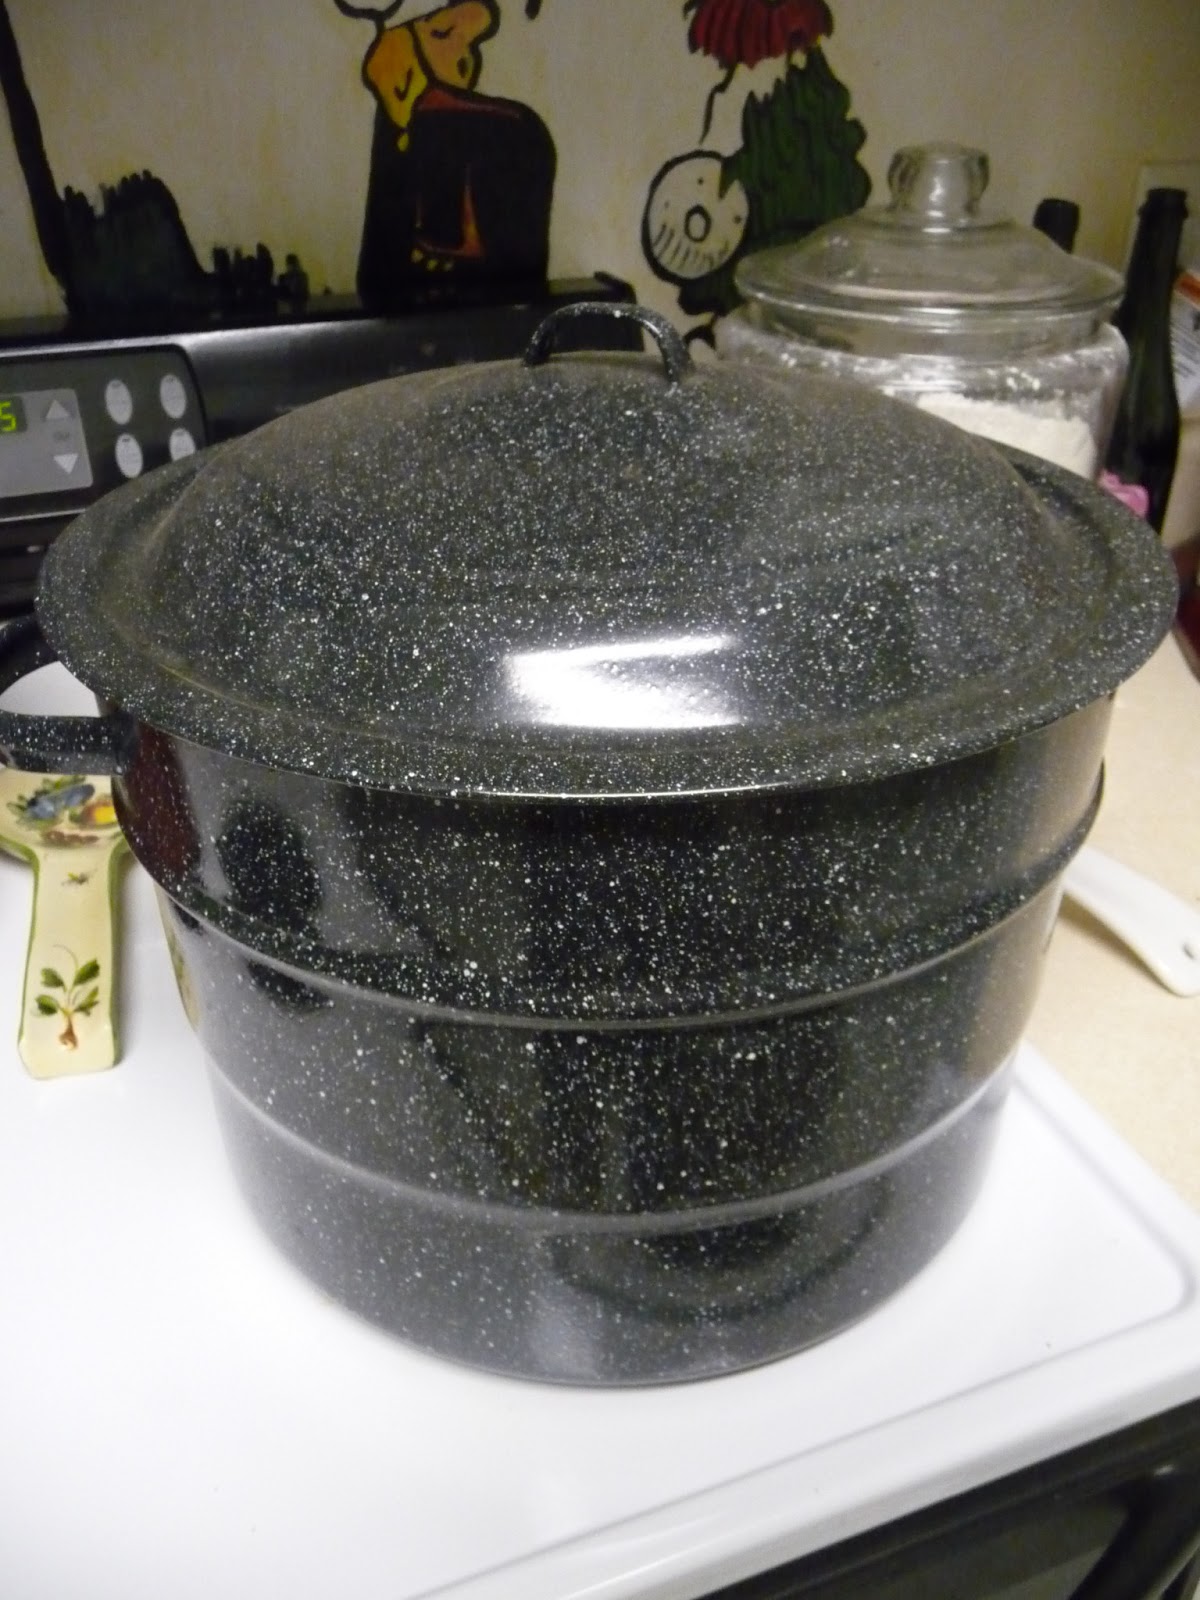
I started canning three years ago and I love making jams and pickling too. I have made blueberry, blackberry, grape, plum, pear, peach jam and pickled peppers, onions, cucumbers and okra. I am by no means an expert and sometimes things don't turn out perfectly, but that is all part of the experience! There are a lot of resources online for help and more details on how to can. This is just my experience and I hope it helps you along on your jamming experience!
To start with the amount of fruit you will need will depend on what kind of jam you are making. For this I will just talk about how to make peach jam, but each fruit is different, so keep that in mind if you are canning something else.


1. A plastic grocery bag full of peaches I had picked equaled about six cups of prepared peaches.
 2. Before beginning to prepare the fruit, put the jars, lids and rims in
the dishwasher on a normal wash and heated dry. (It is important to
keep the jars hot and to sterilize them before pouring in the jam
mixture.)
2. Before beginning to prepare the fruit, put the jars, lids and rims in
the dishwasher on a normal wash and heated dry. (It is important to
keep the jars hot and to sterilize them before pouring in the jam
mixture.)
3. Clean the peaches and make sure they are clean of all stems and dirt. While you are cleaning the peaches put your large pot filled with water on the stove to boil.
 4. Once water is boiling put peaches in boiling water for about two
minutes. My peaches were not ripe at all (they were free, I'm not
complaining!) so I had to cook them for a longer period of time.
4. Once water is boiling put peaches in boiling water for about two
minutes. My peaches were not ripe at all (they were free, I'm not
complaining!) so I had to cook them for a longer period of time. 5. After the peaches are done boiling use a slotted spoon and put the peaches in a large bowl of ice water. Make sure it is large enough to fit all the peaches in the ice water. I didn't use a big enough bowl of ice water and some of the peaches were overcooked.
6. The skin of the peaches should peal off easily. If they do not I use a vegetable peeler to remove the skin. You then have to pit the peach and cut the peach into pieces.

 7. Mash the peaches. This would be a fun time to have your kids help if you decide to use a potato masher to mash up the fruit. I find it is more efficient to use the blender to puree the fruit. There are different settings if you want to have pieces of fruit in your jam.
 8. Should be six cups of pureed peaches.

9. Fill pot with water and begin boiling water in the canning pot.
10. One box of regular pectin (and a little extra to be sure the jam will congeal).


14. Bring to a boil over medium high heat stirring very often to prevent burning. It will take about 5-10 minutes to get to a full boil. (a full boil cannot be stirred away)
 You will need to have 6 3/4 cups of sugar prepared for this next step.
15. Add 6 3/4 cups of sugar to the boiling peach mixture.


Store the jars in a dark cabinet and when opened they need to be refrigerated.
Canning is a wonderful experience and I love to give jams and jelly's as gifts. I hope to someday have a daughter to make peach and other fruit jams with. I hope this encourages you to teach your children to can fruits and such.
There really is nothing like a fresh homemade piece of bread with some homemade jam.
No comments:
Post a Comment